Quickstart
Create your account and launch your first transfer in a few simple steps 🚀
1. Create an integrator accout
An integrator is you, i.e., the company with a direct relationship with Caliza.
Create your integrator account here.
2. Create an authorization token
You'll need to create an authorization token in order to make calls to our API. Follow the instructions here.
You'll need to include your access token in every request that you make to the Caliza API.
3. Enter your callback URL
Caliza's API is largely asynchronous and relies heavily on webhooks, and you'll need to set them up in order to properly use the API. You can enter your callback url on the Profile page of the Integrator Dashboard, accessible by clicking the "person" icon in the upper right of the page at https://sandbox.web.caliza.co.
Please ensure that you are receiving webhooks before interacting with the Caliza API (even while testing). Otherwise, you will miss important feedback. Consider using https://webhook.site .
4. Create your first beneficiary
Now that you've set up your integrator account, it's time to create your first beneficiary. beneficiaries are your users and the ultimate owners of the funds on the platform.
The UI flow will look something like this. You will offer digital dollar accounts in your app interface, and if the user decides to create an account, you (as the integrator), will make a call to Caliza's API to create a new beneficiary with the user's information.
Call POST /beneficiaries in order to create a beneficiary - details for that call are available here.
curl --request POST \
     --url https://sandbox.api.caliza.co/core-api/v1/beneficiaries \
     --header 'Authorization: Bearer {{YOUR_TOKEN}}' \
     --data-raw '{
  "integratorBeneficiaryId": "C99999-I99999",
  "type": "INDIVIDUAL",
  ...
  // rest of the data
  ...
  }'
let url = "https://sandbox.api.caliza.co/core-api/v1/beneficiaries";
let headers = {
  'Authorization': 'Bearer {{YOUR_TOKEN}}',
  'Content-Type': 'application/json'
};
let data = {
  "integratorBeneficiaryId": "C99999-I99999",
  "type": "INDIVIDUAL",
  //... rest of the data
};

fetch(url, {
  method: 'POST',
  headers: headers,
  body: JSON.stringify(data)
})
.then(response => response.json())
.then(data => console.log(data))
.catch((error) => console.error('Error:', error));
import requests

url = "https://sandbox.api.caliza.co/core-api/v1/beneficiaries"
headers = {
  'Authorization': 'Bearer {{YOUR_TOKEN}}'
}
data = {
  "integratorBeneficiaryId": "C99999-I99999",
  "type": "INDIVIDUAL",
  ...
  // rest of the data
  ...
}

response = requests.post(url, headers=headers, json=data)

print(response.json())
5. Complete an on-ramp transfer (View Guide)
Now that you've created your first beneficiary, it's time to complete an on-ramp transfer.transfers are movements of funds between the local currency in a beneficiary's home country bank account and digital dollars in the same beneficiary's Caliza wallet.

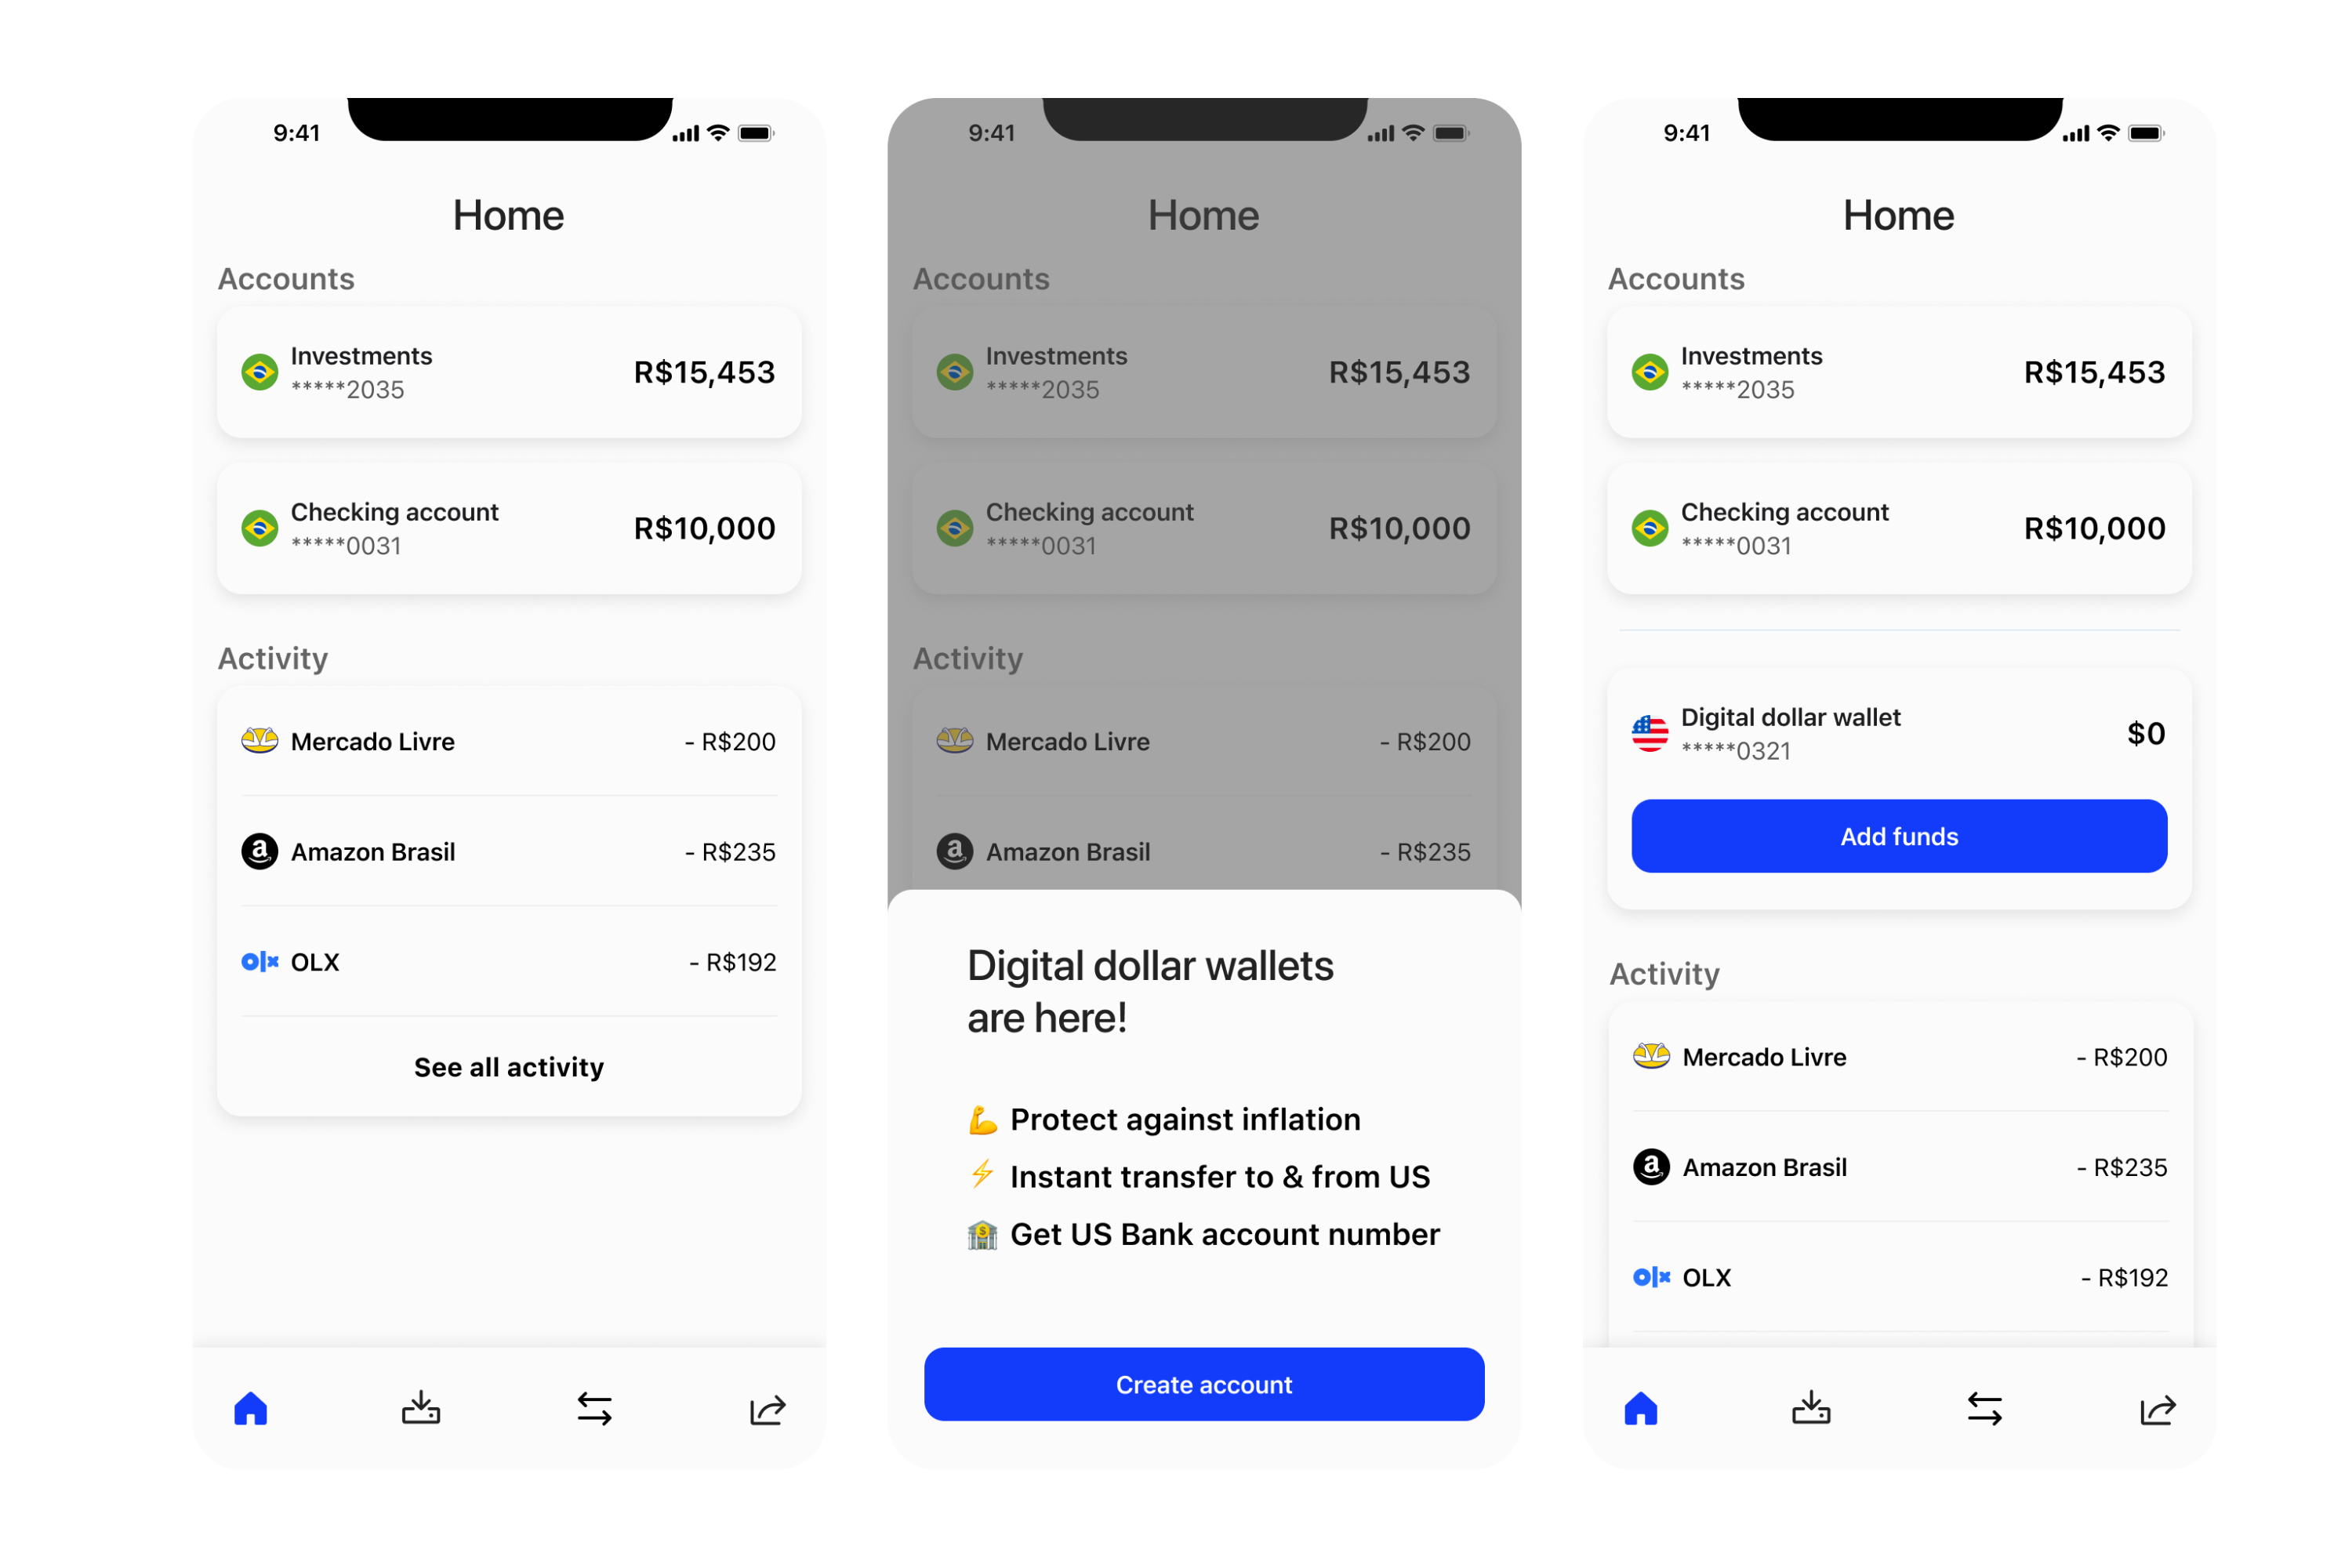
An on-ramp transfer is one that moves funds from local currency in a beneficiary's bank account to digital dollars. In this image, you can see how the beneficiary's digital dollar account is being funded by a transfer from the checking account that ends with 0031.
a. Make an on-ramp transfer simulation call
- Call
POST /transfers/simulationswith atypeofon_rampto create asimulationof your on-ramp transfer. The transfer simulation endpoint will return the exchange rate, at the time of submission, and the expected amount of USDC that the beneficiary will receive. - You'll receive a
simulationIdin the response. This ID will be used to execute the on-ramp transfer, once you've evaluated the details of the simulation and would like to move forward.
The exchange rate that is returned in the simulation is indicative, and not guaranteed.
b. Execute the on-ramp transfer
- Call
POST /transferswith thesimulationIdthat was returned from the simulation call. This will begin the on-ramp execution process. - The response will include an
idfield. This ID is a unique reference to this transfer. Store it, as it will be used as a reference in webhooks, and also can be used to directly request the status of the transfer. - We will execute from here. You'll be updated via webhooks sent to your registered callback URL. If you haven't registered webhooks (which are strongly recommended), you can always check the status via the
GET /transfers/{id}endpoint.
6. Check a beneficiary balance (View Guide)
- Call
GET /beneficiaries/:beneficiaryId/balances. - The response will contain the beneficiary's current balance. You can also view the beneficiary's balance on the Caliza dashboard.
- Prior to completing a payment out (as below), you'll want to make sure that the beneficiary's current balance is above the amount that you are looking to transfer out.
7. Complete a payment out (View Guide)
a. Create a payment contact
- Call
POST /payment-contactsto create a new payment contact. A payment contact will hold the external bank account for where we are going to send your USDC as USD
b. Create a payment simulation
- Call
POST /payments/simulationsto create asimulationof your payment out - We will respond with the
simulationId, details around the expected fees, and the total amount that the payment contact should expect to receive.
c. Execute the payment
- Call
POST /paymentswith thesimulationId,paymentContactIdanddescriptionin order to execute the payment - The response will include an
idfield. This ID is a unique reference to this payment. Store it, as it will be used as a reference in webhooks, and also can be used to directly request that status of the payment. - We will execute from here. You'll be updated via webhooks sent to your registered callback URL. If you haven't registered webhooks (which are strongly recommended), you can always check the status via the
GET /payments/{id}endpoint.
For more information about payments and transfers you can check on-ramp, off-ramp and payment-in, payment-out docs
Updated 11 months ago